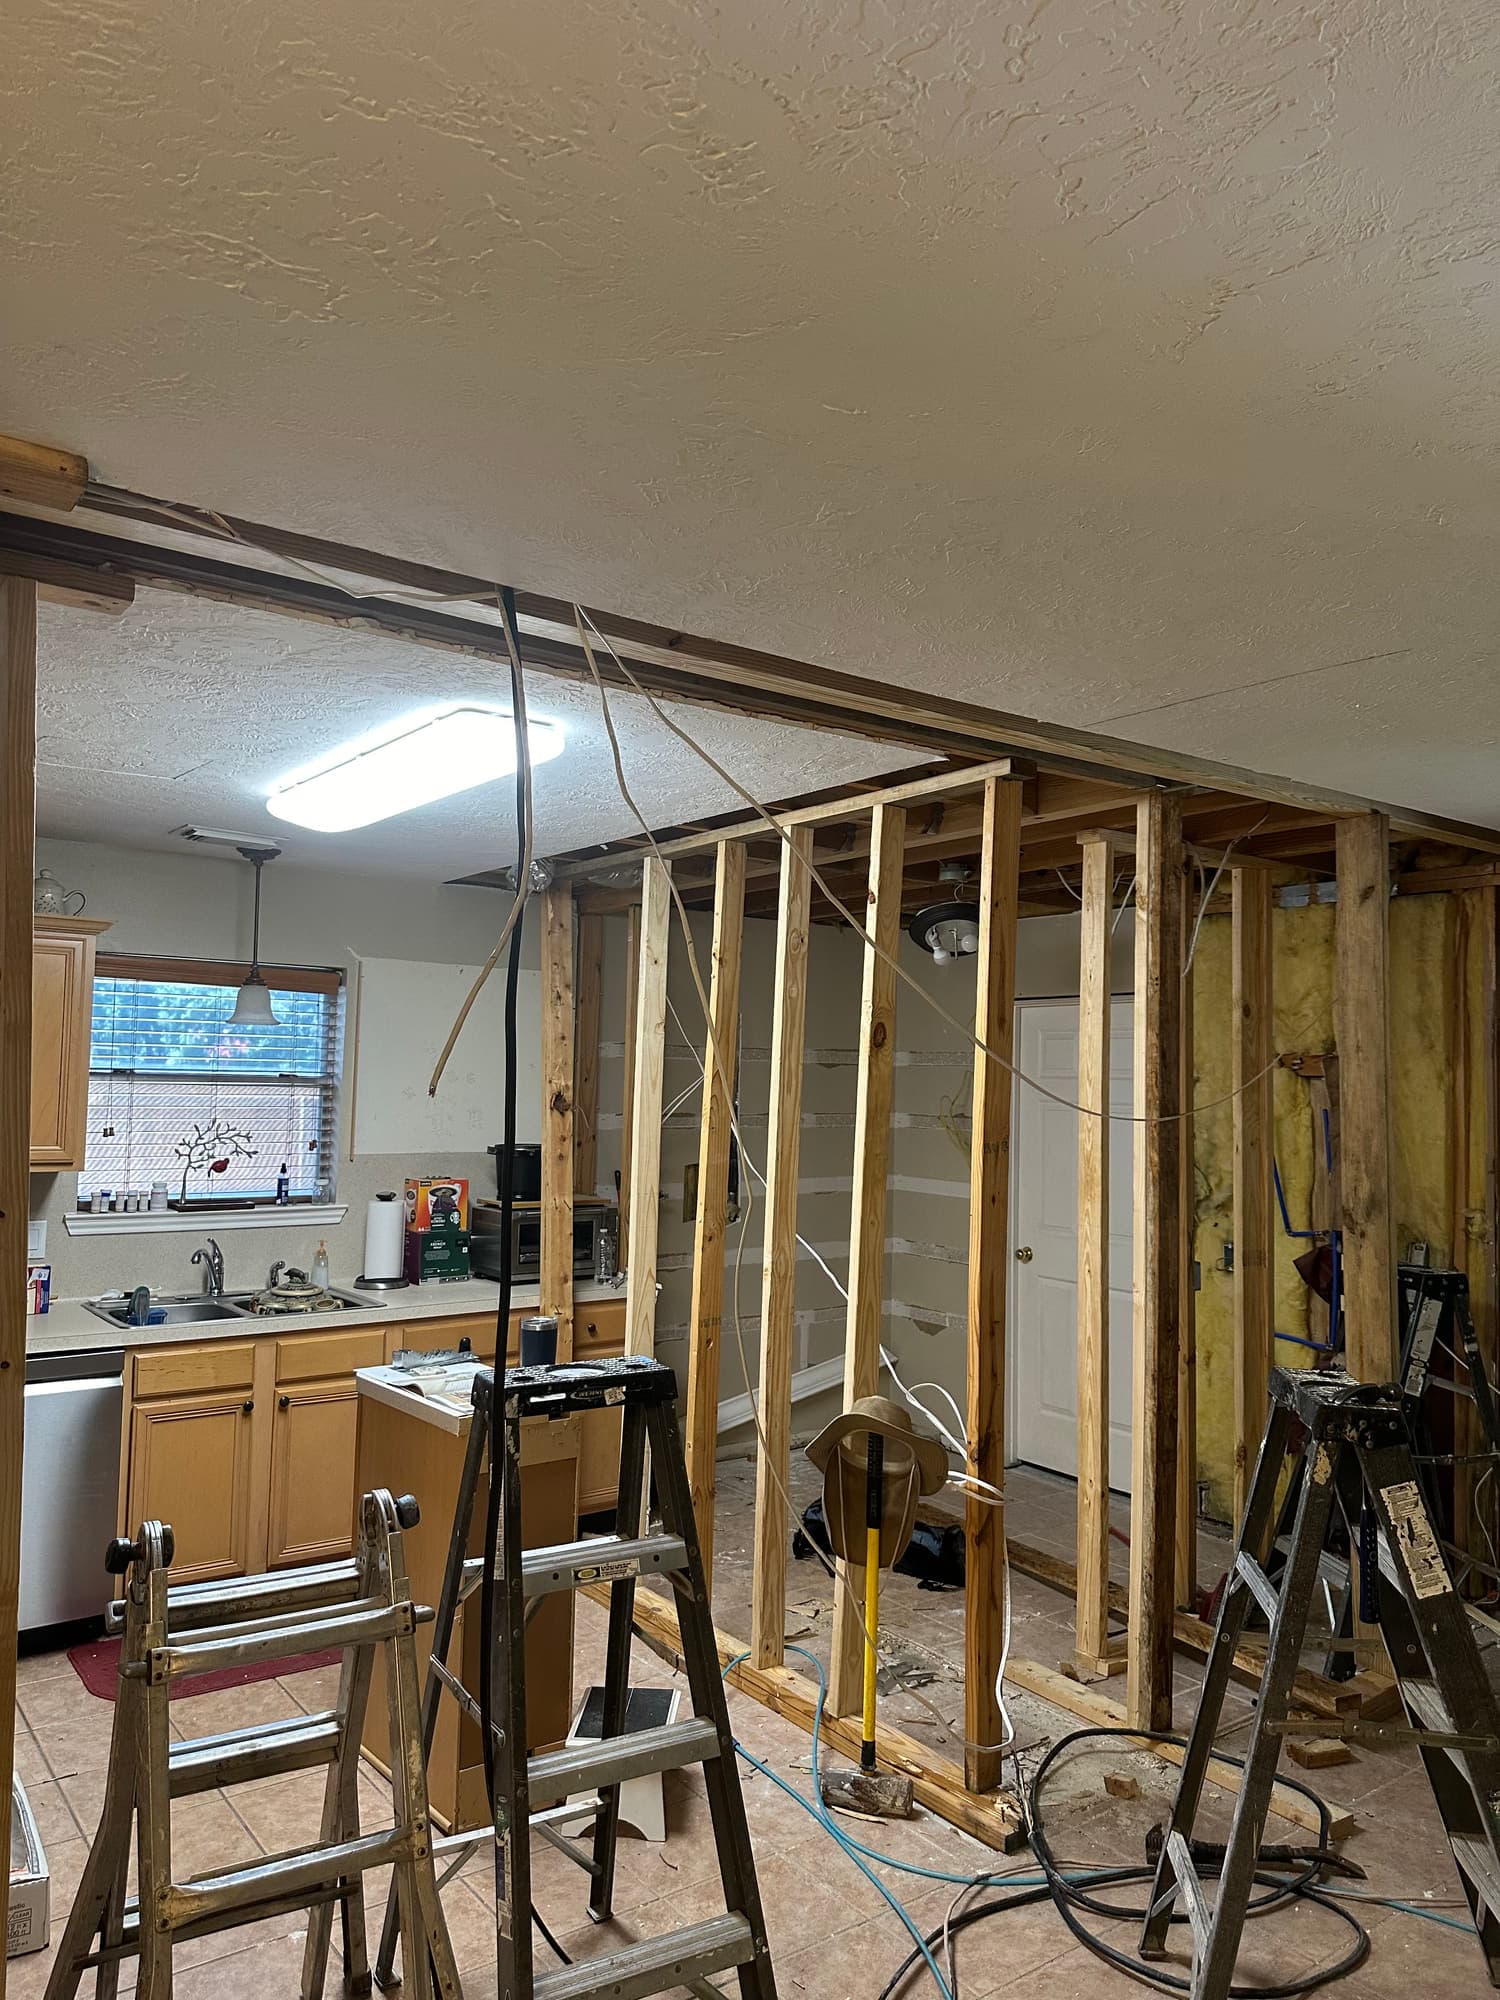
The kitchen we were called to look at had honey-oak cabinet boxes, tile countertops with grout joints running straight through the work surface, and a dropped soffit boxing in the tops of the wall cabinets. Nothing was failing outright. The doors still closed and the sink still drained. The problem was that every surface in the room belonged to a closed galley layout, and the homeowners wanted an open kitchen with an island.
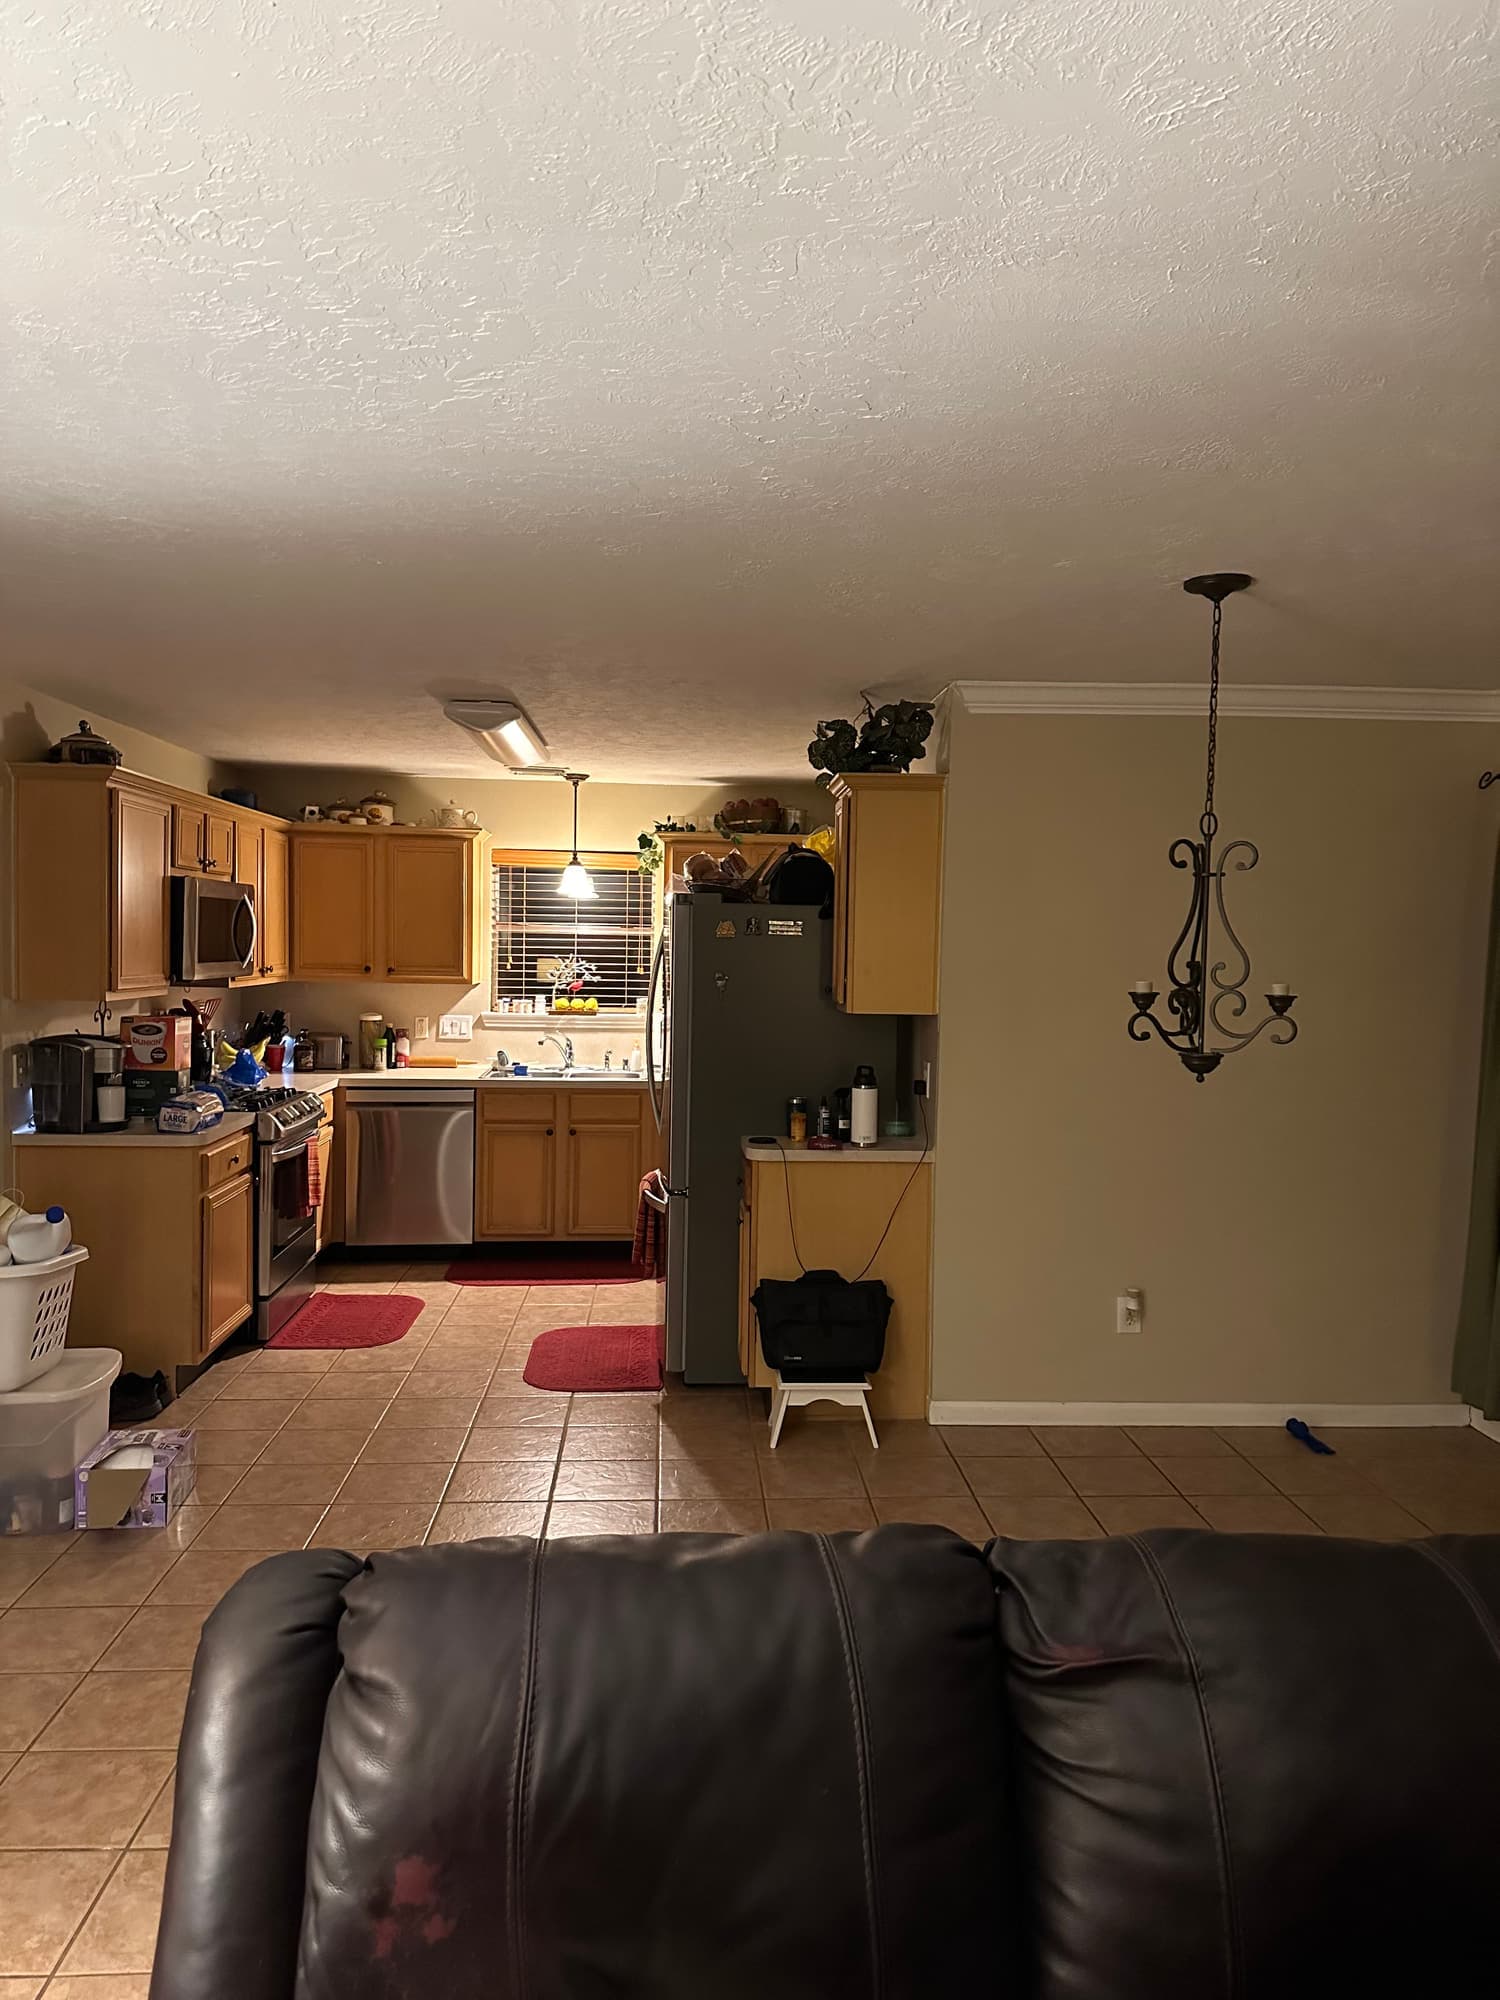
Decisions made before demolition
Refacing was not the right answer here. Refacing puts new doors and a veneer skin on the boxes you already own, which means you keep the layout, the box heights and the soffit sitting on top of them. The soffit was coming out, the counters were coming out, the backsplash was coming off and the floor was being replaced, so there was nothing left worth working around. Once the room is that far apart, taking the boxes with it is the shorter path.
- Remove the soffit and run the wall cabinets up toward the ceiling instead of stopping them short of it.
- Open the ceiling in the work area so new lighting circuits could be run in the clear rather than fished blind through finished drywall.
- Replace the tile countertops with stone, which takes the grout joints out of the work surface entirely.
- Run one hardwood floor through the kitchen and on into the dining area rather than stopping it at a threshold.
- Handle electrical permitting the way the jurisdiction requires. Inside Houston city limits that runs through the Houston Permitting Center; unincorporated Harris County, the surrounding counties and the incorporated suburbs each run their own permit offices.
Demolition and rough-in
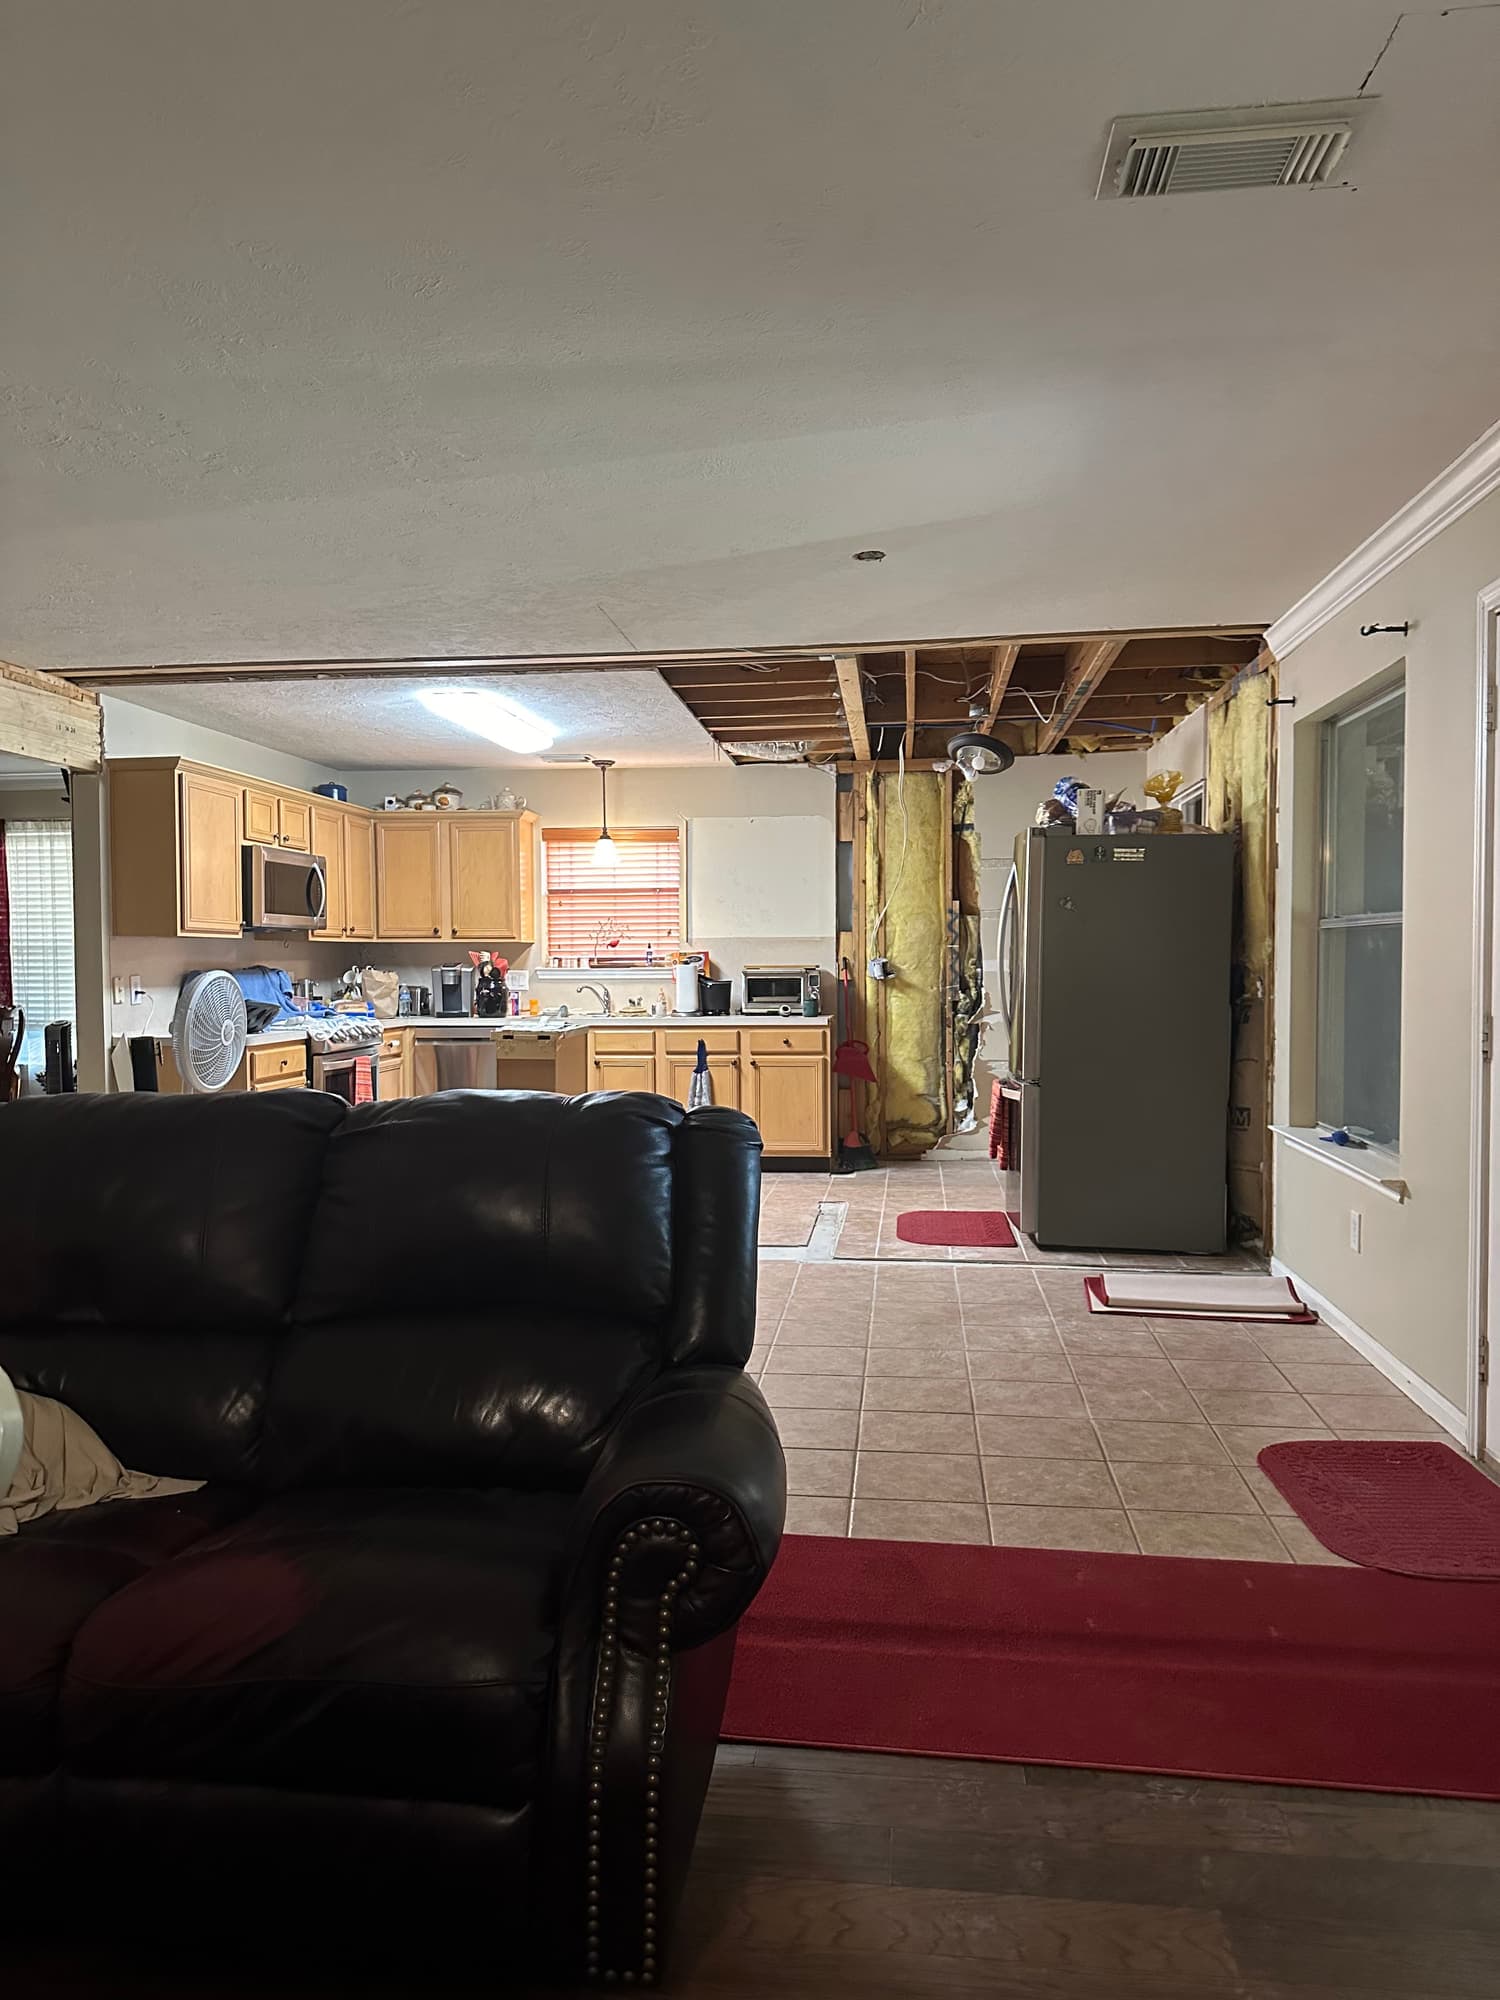
Soffits are rarely empty. We open one on the assumption that something is living in it, a plumbing vent, a duct branch, or the wiring feeding the ceiling lights, and cut it back carefully instead of swinging into it. The room was contained and the rest of the house closed off before any of that started, because demolition dust moves through a house fast once it is loose, and the only fix is containment before the first cut.
With the ceiling open to the joists, new circuits went in for the ceiling lights, the under-cabinet lighting and the counter-top receptacles, which are GFCI protected. Blocking was added between joists and in the stud bays wherever a fixture or the hood needed something solid to fasten to. All of it is easier to do properly while you can still see the framing, and it is the last chance to do it without opening finished drywall later. On permitted work, the rough-in is inspected before any board goes back up.
Cabinets, stone and tile
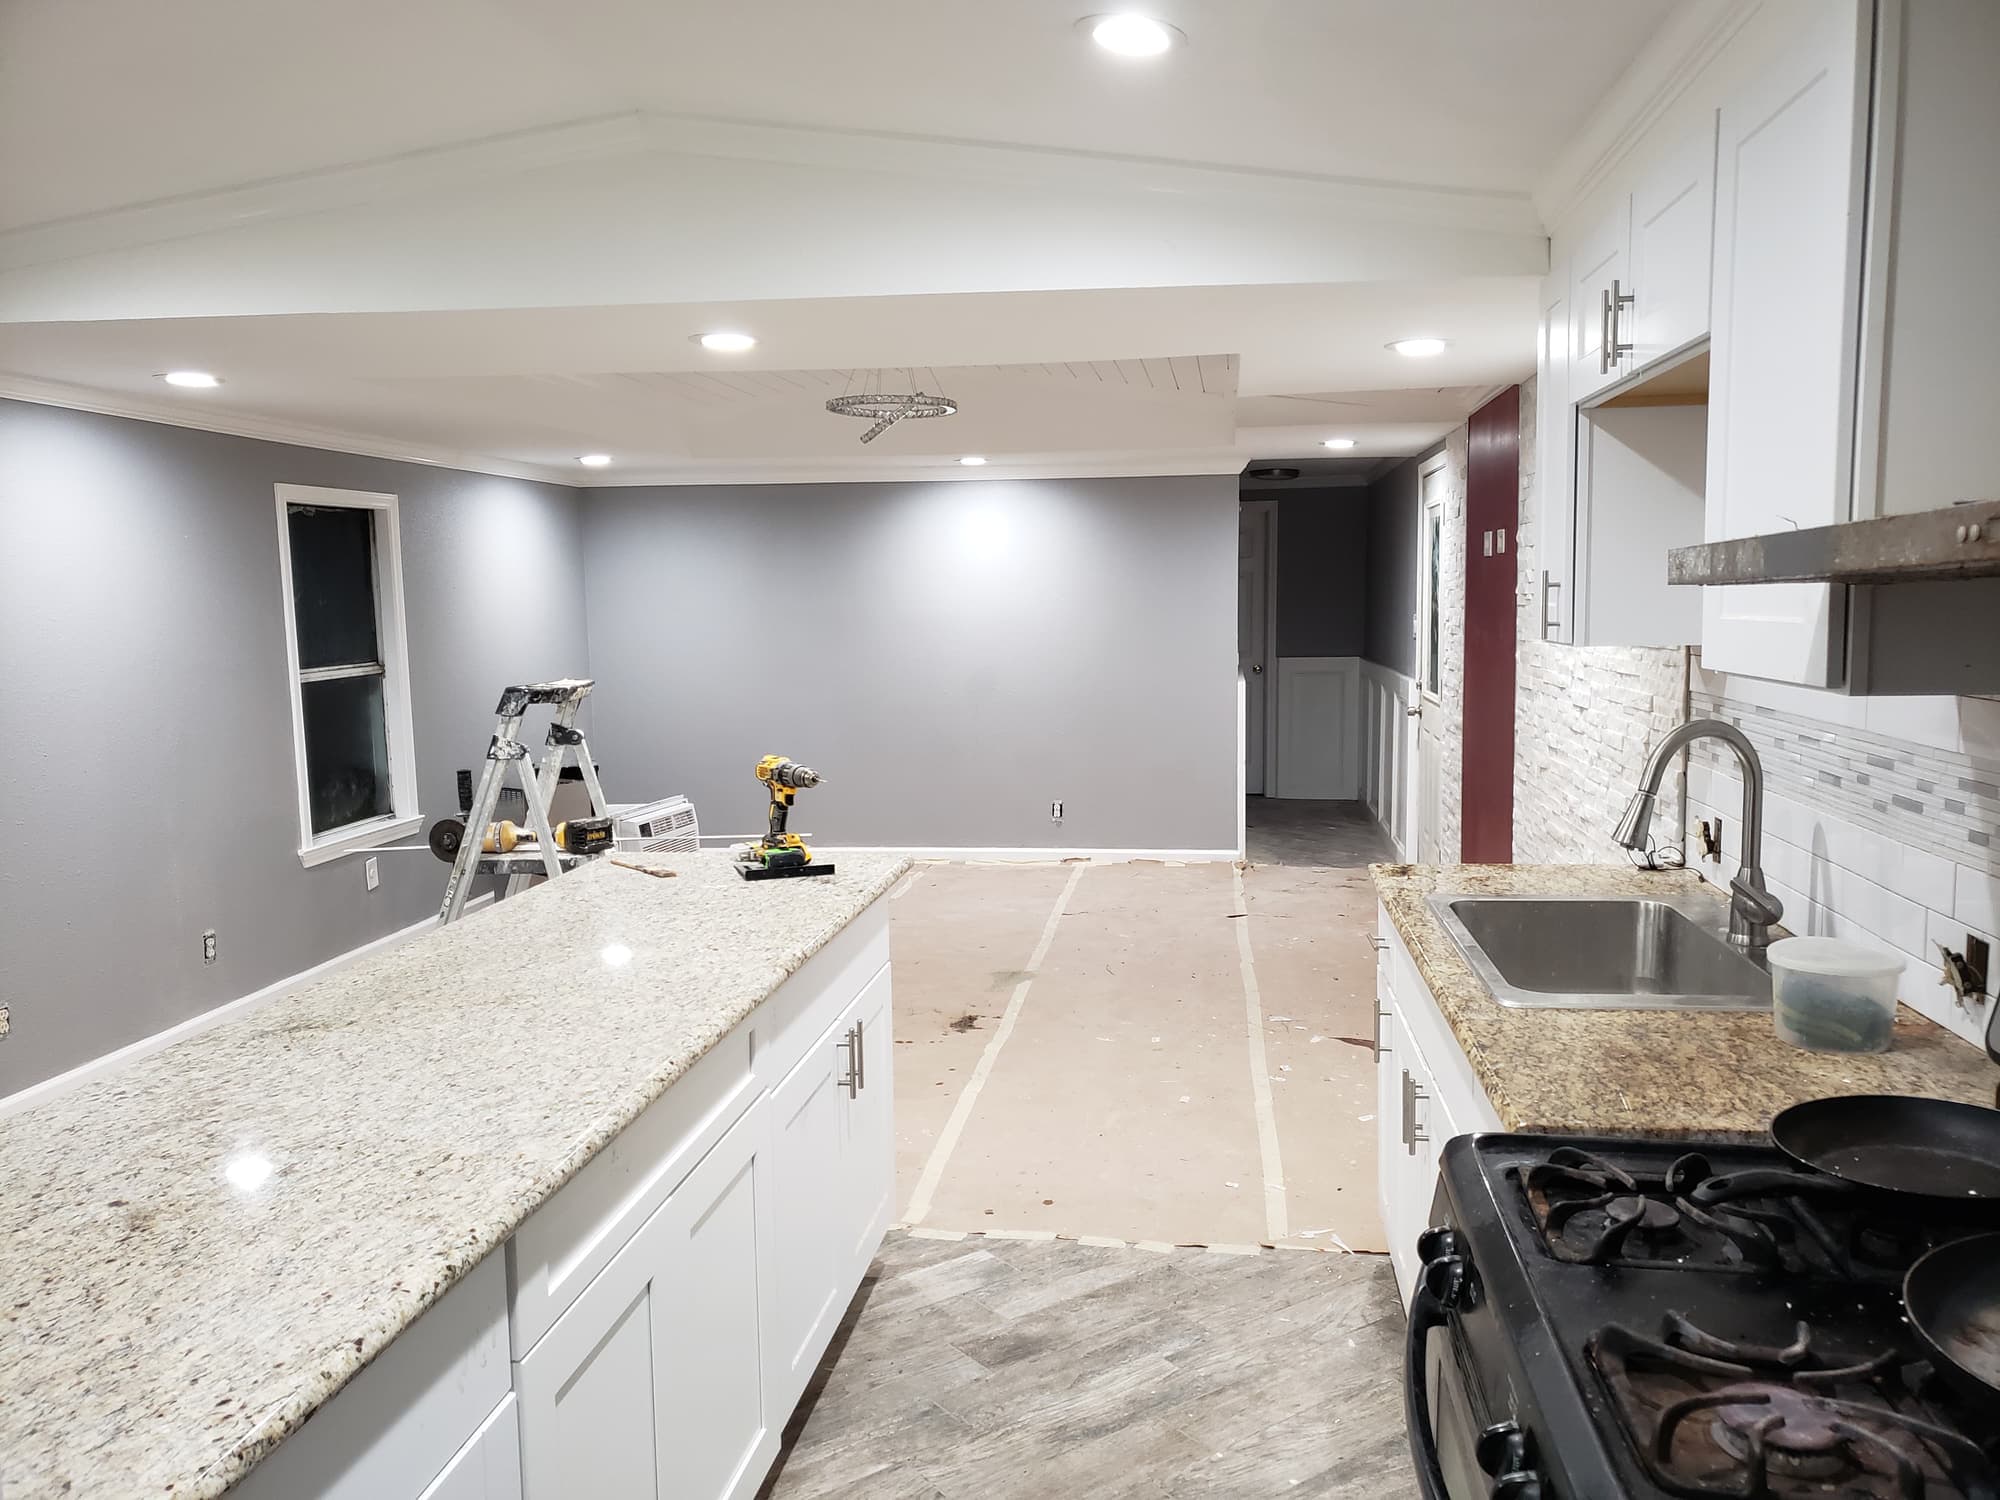
Slab floors around Houston are rarely dead flat. The expansive clay under this part of the Gulf Coastal Plain swells and shrinks with the seasons and slabs move with it, so base cabinets are shimmed to a laser line rather than trusted to the floor, and the uppers hang off that same reference. Once the boxes were set, levelled and screwed to each other, the countertop shop templated off the actual cabinets instead of off a drawing, and the seating overhang got its support built in before the stone ever landed on it. The subway tile went up in a running bond with tight joints and unsanded grout, which is what joints of about 1/8 inch and under take. Walls were rolled before the tile so the cut lines stayed clean, and the floor stayed covered until the dusty work was finished.
The finished kitchen
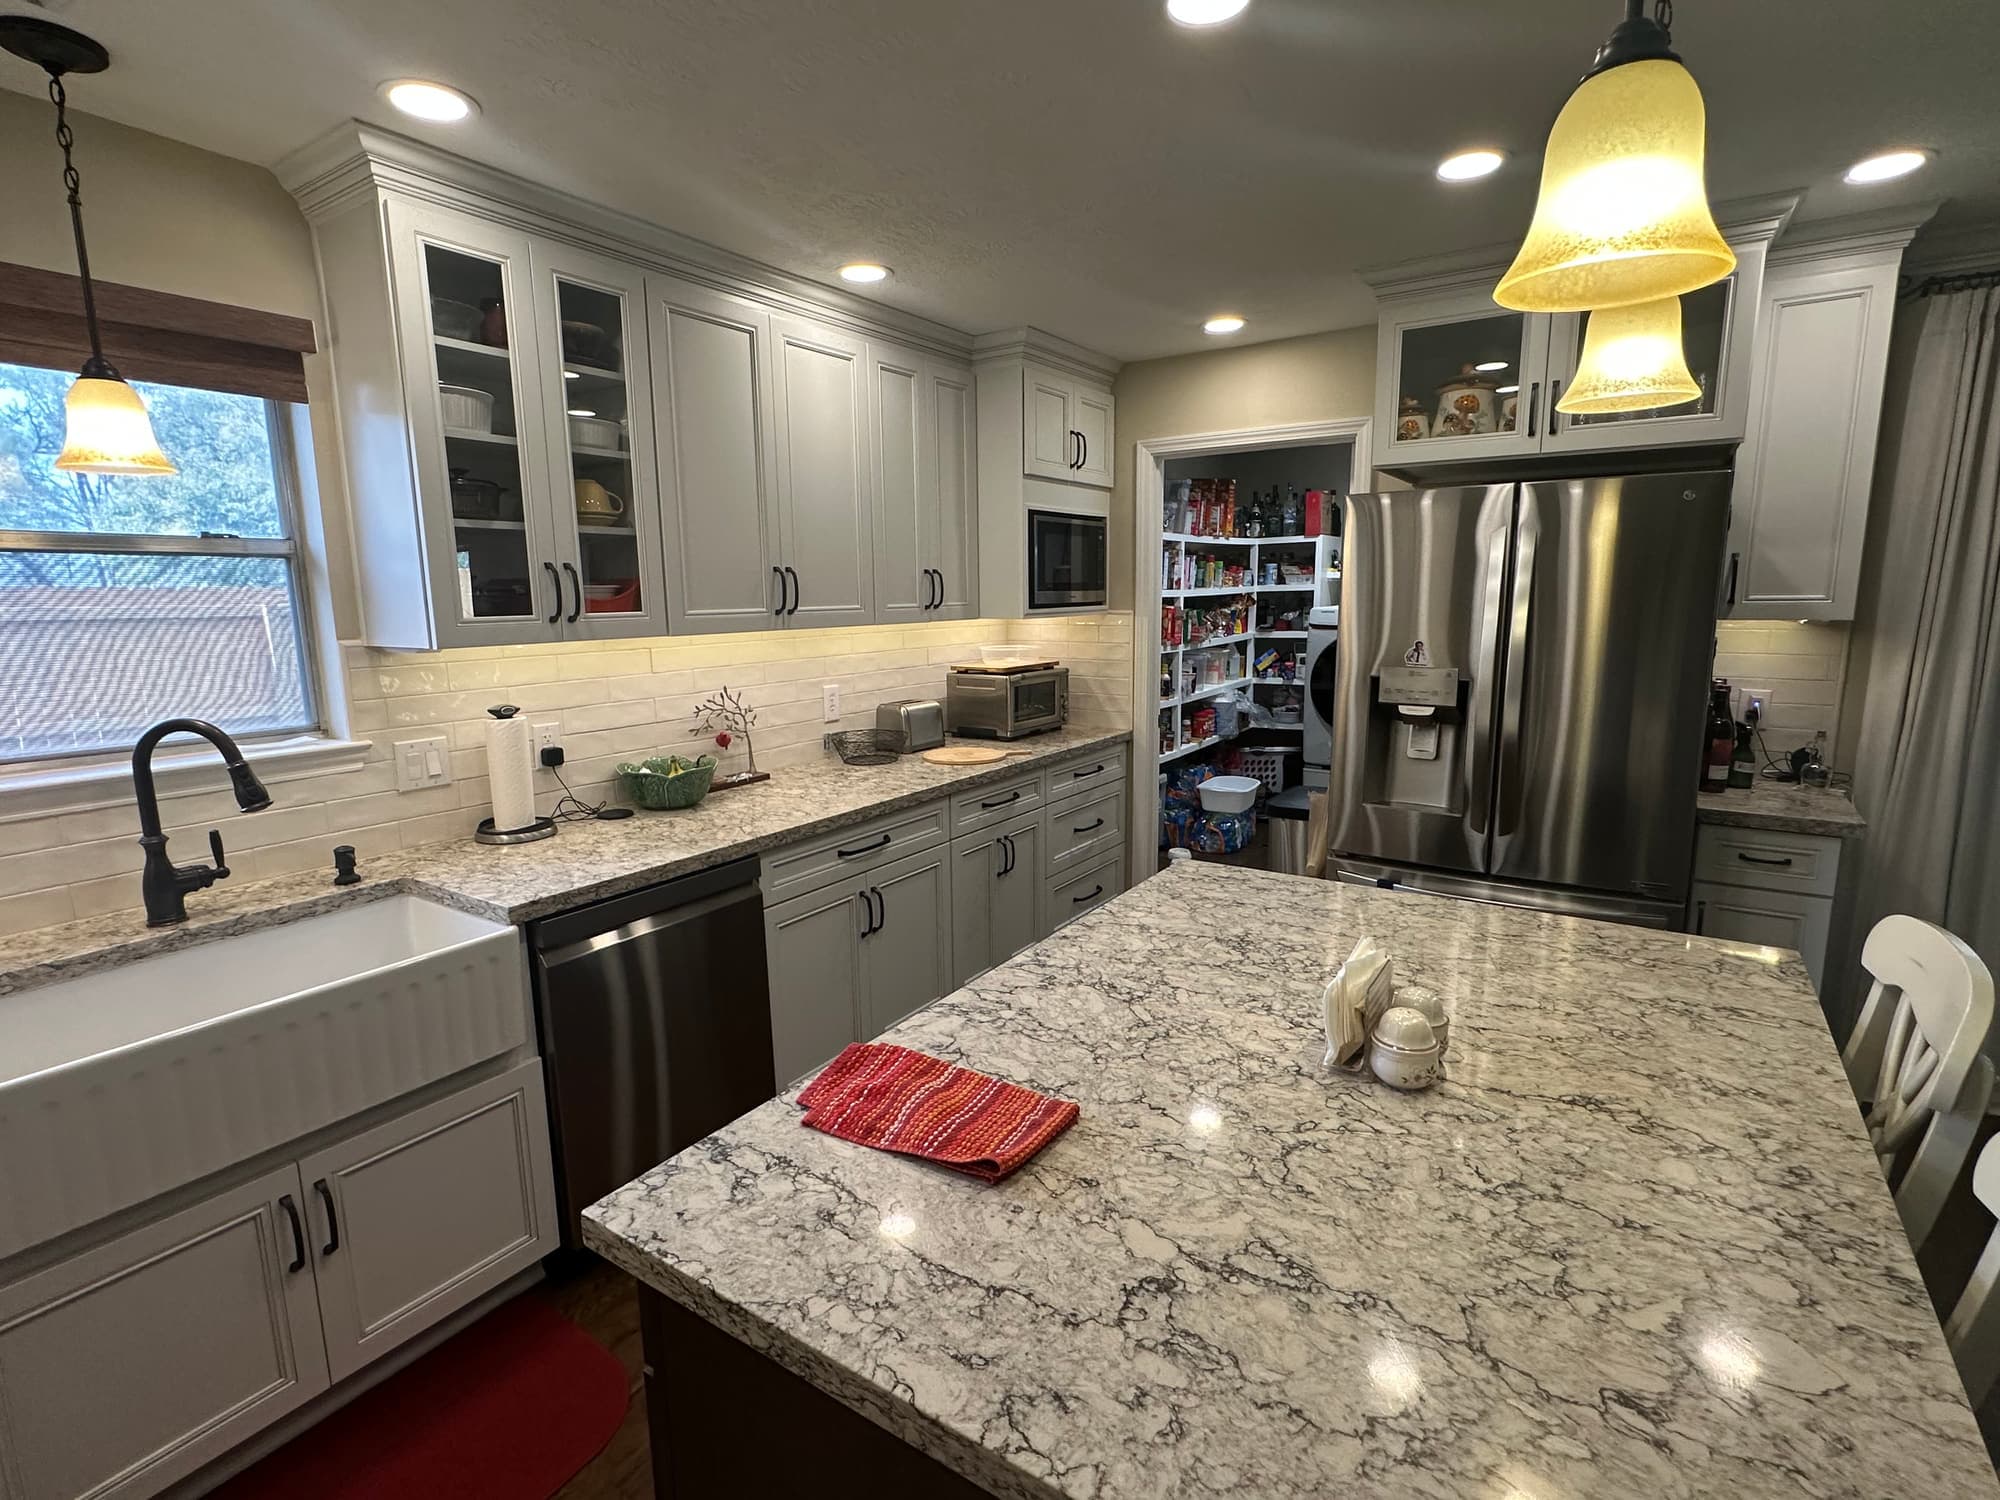
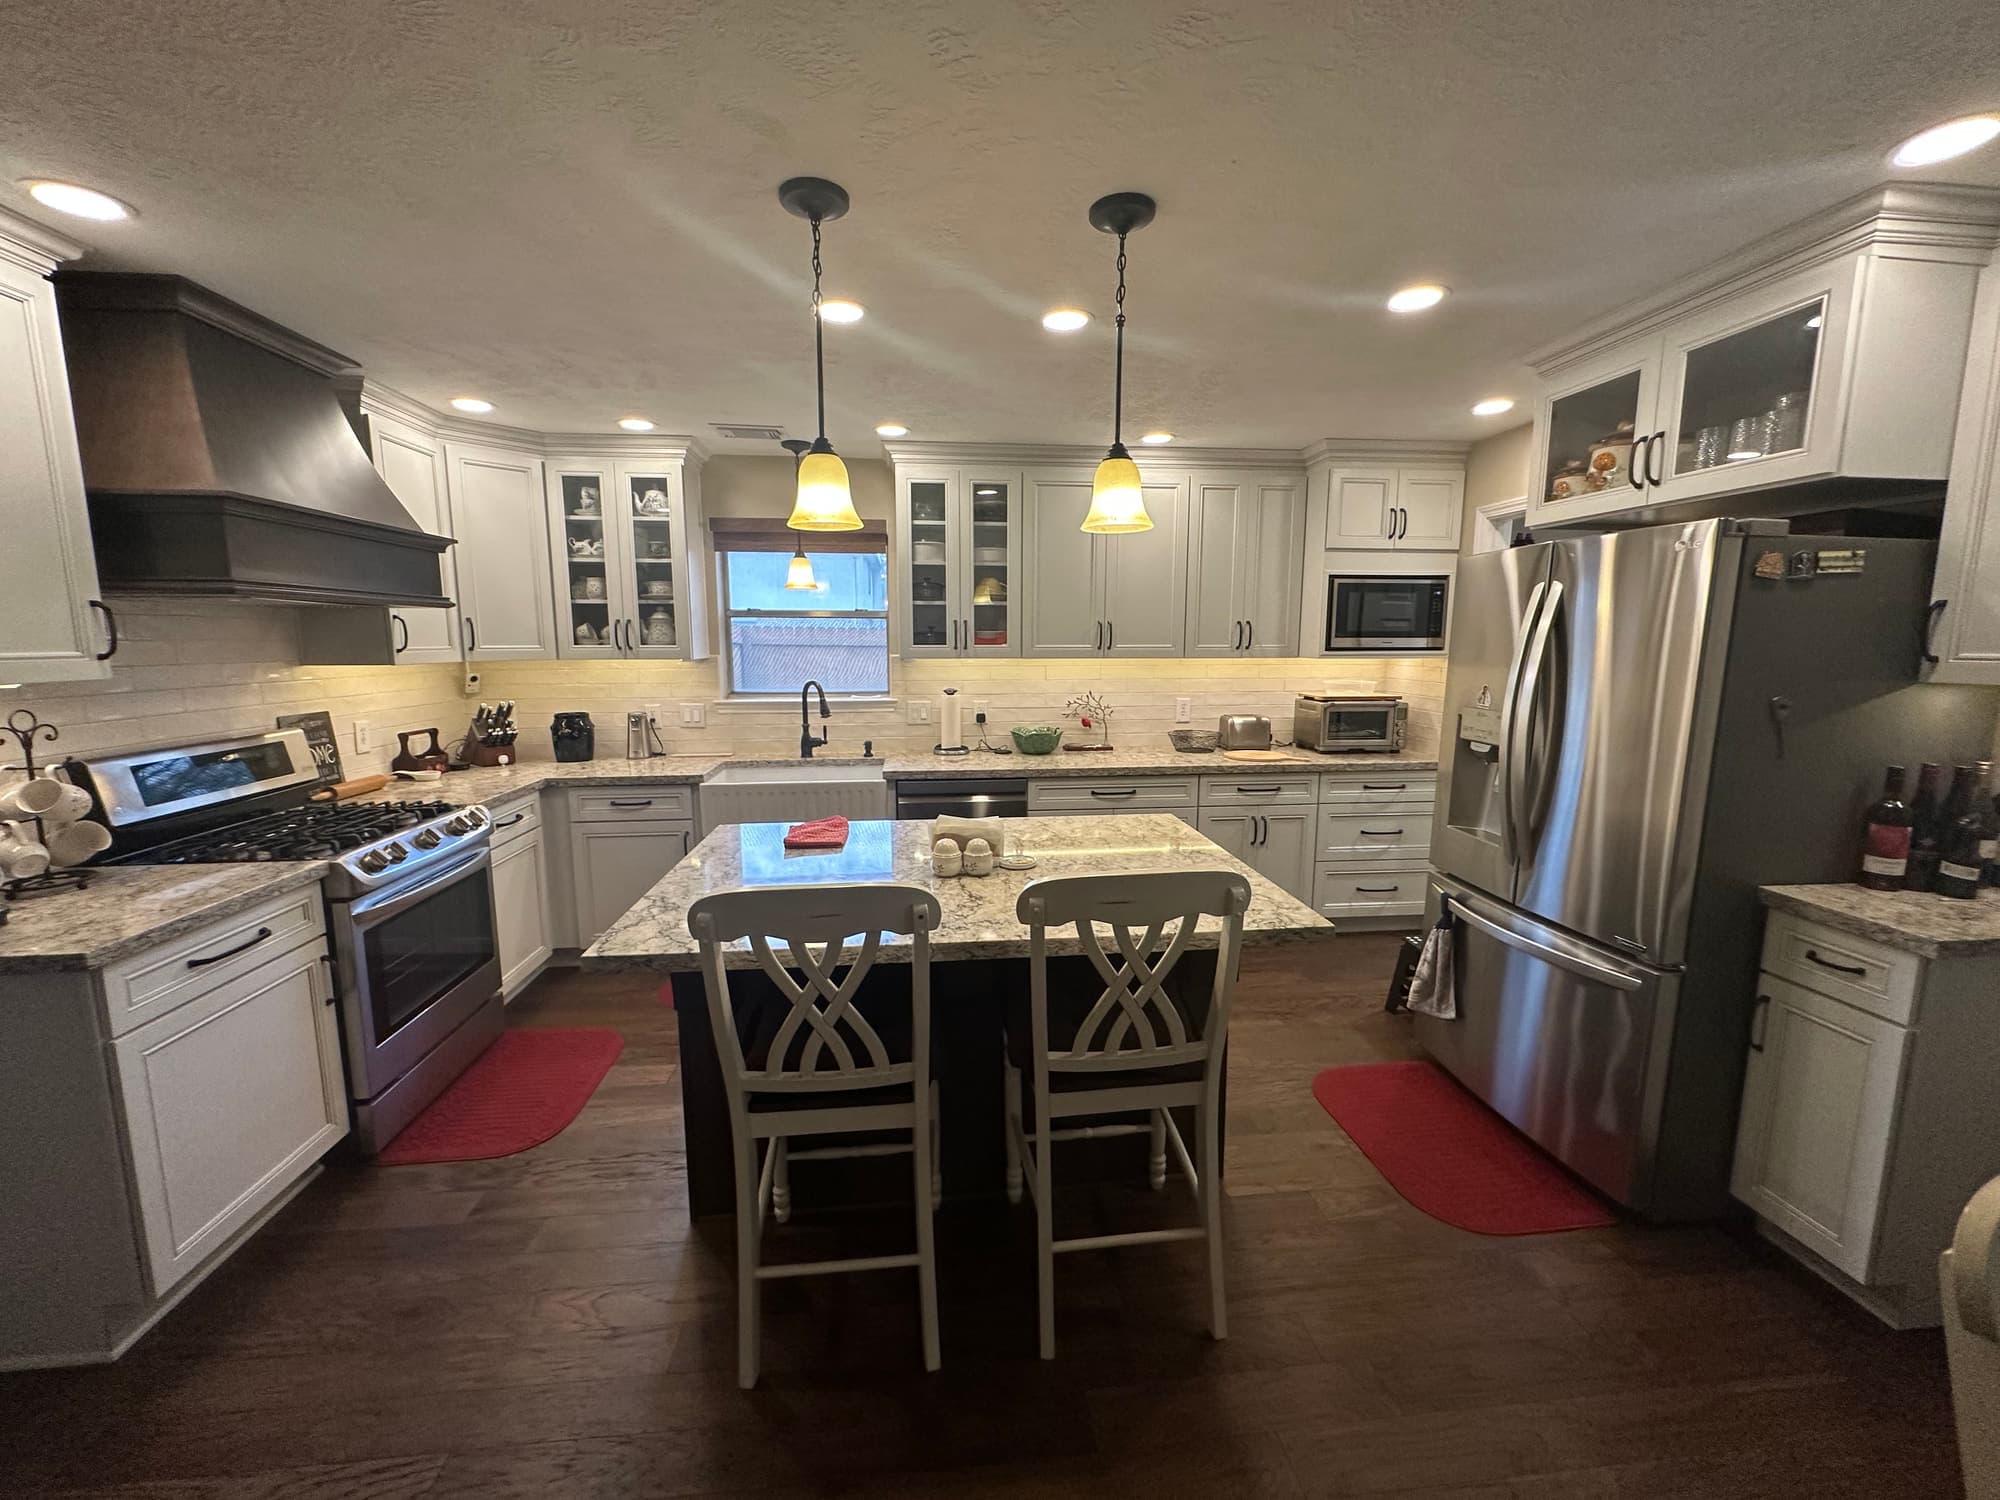
The room now reads as one kitchen rather than two facing walls. Perimeter and island cabinets are painted shaker, the island carries quartz, and the apron-front sink stands proud of the cabinet face the way that sink style is built to. A wood hood takes the place of a cabinet over the range, and the hardwood leaves the kitchen and continues into the dining room. Wood in this climate needs to sit in the house and acclimate before it is fastened down, and it needs an expansion gap left at the walls and hidden under the base. Skipping either step is how a floor ends up cupped or gapped a year later.