
Stand under the wall you want to remove and work out which way the ceiling joists above it run. In most houses around Houston that means going up into the attic, because a slab-on-grade house gives you nothing underneath to look up into. If they cross the wall at a right angle, treat that wall as load-bearing until someone qualified proves otherwise. If they run parallel with it and land somewhere else, it may be nothing more than a partition. That single observation settles more of the question than anything else you can do without cutting drywall, and it is also where most homeowners stop too early, because a wall sitting quietly under parallel joists can still be holding up a roof brace or a truss bearing point.
What load-bearing actually means
Weight moves down. Shingles and sheathing load the rafters or trusses, those land on walls, walls carry into the slab, and the slab spreads it into the soil. A wall is load-bearing if it sits somewhere in that path. Take it out and the load has to travel a different route, normally through a beam spanning the new opening and two stacks of studs at the ends that deliver the load straight down to the foundation. There is a second job walls do that rarely gets mentioned: bracing. Some interior walls carry very little weight but stiffen the house against wind, which is worth respecting in a region that sees tropical systems from roughly June through November. A wall can be structurally useful without a single joist resting on it.
Start with what is directly above the wall
Ceiling and floor joists are normally spaced 16 inches on center, sometimes 24. You are trying to establish two things: which direction they run, and whether they touch the wall's top plate. The attic is the honest answer, but there are ways to read it from below.
- Run a stud finder across the ceiling in both directions. The direction that gives you a repeating hit every 16 or 24 inches is across the joists.
- Ceiling drywall is hung across the joists, so the butt seam where two sheet ends meet lands on a joist and runs with the framing. Recessed cans and fan boxes sit between or on framing but get laid out for the room, so treat them as hints about where the wood is, not which way it runs.
- In a two-story, listen to the floor above. Rows of squeaks and lines of nail pops follow the joists underneath; panel seams run both ways, so read the nail lines rather than the seams.
- From the attic, pull insulation back over the wall line and look at whether the joists sit on the top plate, lap over it, or run past beside it.
The strongest single clue is a splice. Joists come in stock lengths, so a long span is made from two members lapped over an interior support, overlapped several inches across the plate and nailed together, or butted with a splice plate at the same point. Find that splice directly above your wall and the wall is holding the joists up. Joists that pass over in one continuous piece, with daylight or a shim between the joist and the plate, are telling you something very different.
Then look at stacking. In a two-story, a wall that lines up with a wall on the floor above is usually in the load path, and if that upper wall runs under the ridge or under the end of a floor-joist run, count on it. Exterior walls are always in the load path, including gable ends, which may carry little roof weight but are doing real work resisting wind. Nothing on an exterior wall gets opened up on a hunch.
The roof above changes the answer
Roof trusses are engineered assemblies designed to span from exterior wall to exterior wall in one shot. In a truss-framed house, most interior walls carry nothing at all. The bottom chord passes over them and they were framed to divide rooms. That is why a house can look identical to the one next door and have a wall that comes out in a morning while the neighbor's needs a beam and posts.
Two things complicate that. Girder trusses, usually several plies nailed or bolted together, collect load from other trusses and hand it to specific bearing points, sometimes a short interior wall or a column buried inside one. And truss bottom chords get braced laterally against the partitions below, often with metal clips or L-brackets that let the truss move without pushing the ceiling around. A clip at the top plate instead of nails driven straight through usually means the wall was framed as a non-bearing partition under the truss, but it is one clue among several and the truss above still has to be read. Whatever you find, no truss member gets cut, notched or drilled to make room for a duct or a wire. A truss works as a whole assembly, and the repair for a cut chord is an engineer's detail, not a scab of plywood.
Older stick-framed roofs behave differently. Rafters cut on site, a ridge board at the peak, ceiling joists working as ties across the bottom, and rafters often supported mid-span by purlins. Those purlins are held up by 2x4 braces angling down to interior walls, and that is genuine roof load landing in the middle of the house. A wall running parallel with the ceiling joists can still be carrying a share of the roof through a kicker you will only find by going into the attic and following the wood to where it lands.
On a slab, the support below is out of sight
This is slab-on-grade country, so there is no crawlspace or basement to look up into and confirm what is under the wall. Builders handle interior bearing walls with a thickened, reinforced section of the pour, an interior grade beam, running beneath the wall line. If you still have the original foundation plan, those beam lines are drawn on it, and a beam under the wall you want to open tells you how the house was designed to work. It matters again on the other end of the job: a new beam concentrates load that used to spread along the whole wall into two points, and those points need real support underneath. Landing a heavy point load over a thin slab section can mean cutting a pocket and pouring a footing.
Clues in the framing itself
| What you find | What it suggests | The catch |
|---|---|---|
| Doubled top plate, two flat 2x4s stacked, about 3 inches of wood | Typical of a bearing wall | Plenty of builders double the plate on every wall in the house. Common, not conclusive. |
| Joists lapped or spliced directly over the plate | Strong sign the wall is bearing | Confirm the joists actually rest on that plate and are not carried by a beam a few inches away. |
| A 2x6 top plate on an otherwise 2x4 wall | Sometimes added to give lapped joists more bearing width | It can also be leftover stock, or the top of a plumbing wall. Look up, not just at the plate. |
| Solid blocking between the joists above the wall | Bearing point or lateral bracing | Blocking is also used simply to back drywall seams. |
| Metal clip or L-bracket between plate and truss chord | Truss house, wall framed as a non-bearing partition | Clips appear in some bearing details too. Read the whole truss, not the connector. |
| Wall framed 2x6, roughly 6.5 inches finished | Usually a plumbing wall or an exterior wall | Thickness generally means pipes, not load. |
| A framed header already over a doorway in that wall | The wall was carrying load when it was built | Some crews header every rough opening out of habit. |
| Wall stops short of the ceiling, or is a half wall | Almost certainly non-bearing | Check that the ceiling nearby is not carried by a beam hidden in an adjacent soffit. |
Checking it yourself: the attic, then a small hole
- Go early in the day. Attic temperatures here climb fast, and heat makes people rush and make mistakes on a joist walk.
- Measure downstairs first. Take the distance from an exterior wall to the wall in question so you can find the same line in the attic.
- Step only on joists, trusses or decking. Blown insulation hides everything, including junction boxes and the ceiling drywall waiting to swallow a foot.
- Clear insulation off the top plate over the wall line and look at how the joists meet it: resting on it, lapped across it, or passing beside it.
- Follow any brace that lands on that wall back up to whatever it is holding.
- Photograph it wide and close. A contractor or engineer can read a great deal from good attic photos, and it saves a second trip up there.
When the attic cannot settle it, because of a vaulted ceiling, a tight space or a first floor sitting under a second, cut an inspection hole. A rectangle a few inches wide, high on the wall between studs, shows you what the top plate is doing. Set an oscillating tool blade to just past the board thickness, half an inch for wall drywall and five-eighths for many ceilings, kill the breakers serving that room, and scan before you cut, because wires and pipes cluster wherever there is a switch, an outlet or a fixture. The patch is minor work, tape and two or three coats of compound, sand, texture and paint, and it is far cheaper than discovering you needed a header with the ceiling already on the floor. Matching an existing texture is the fussy part, which is exactly where careful drywall work pays for itself.
What happens when the answer is yes
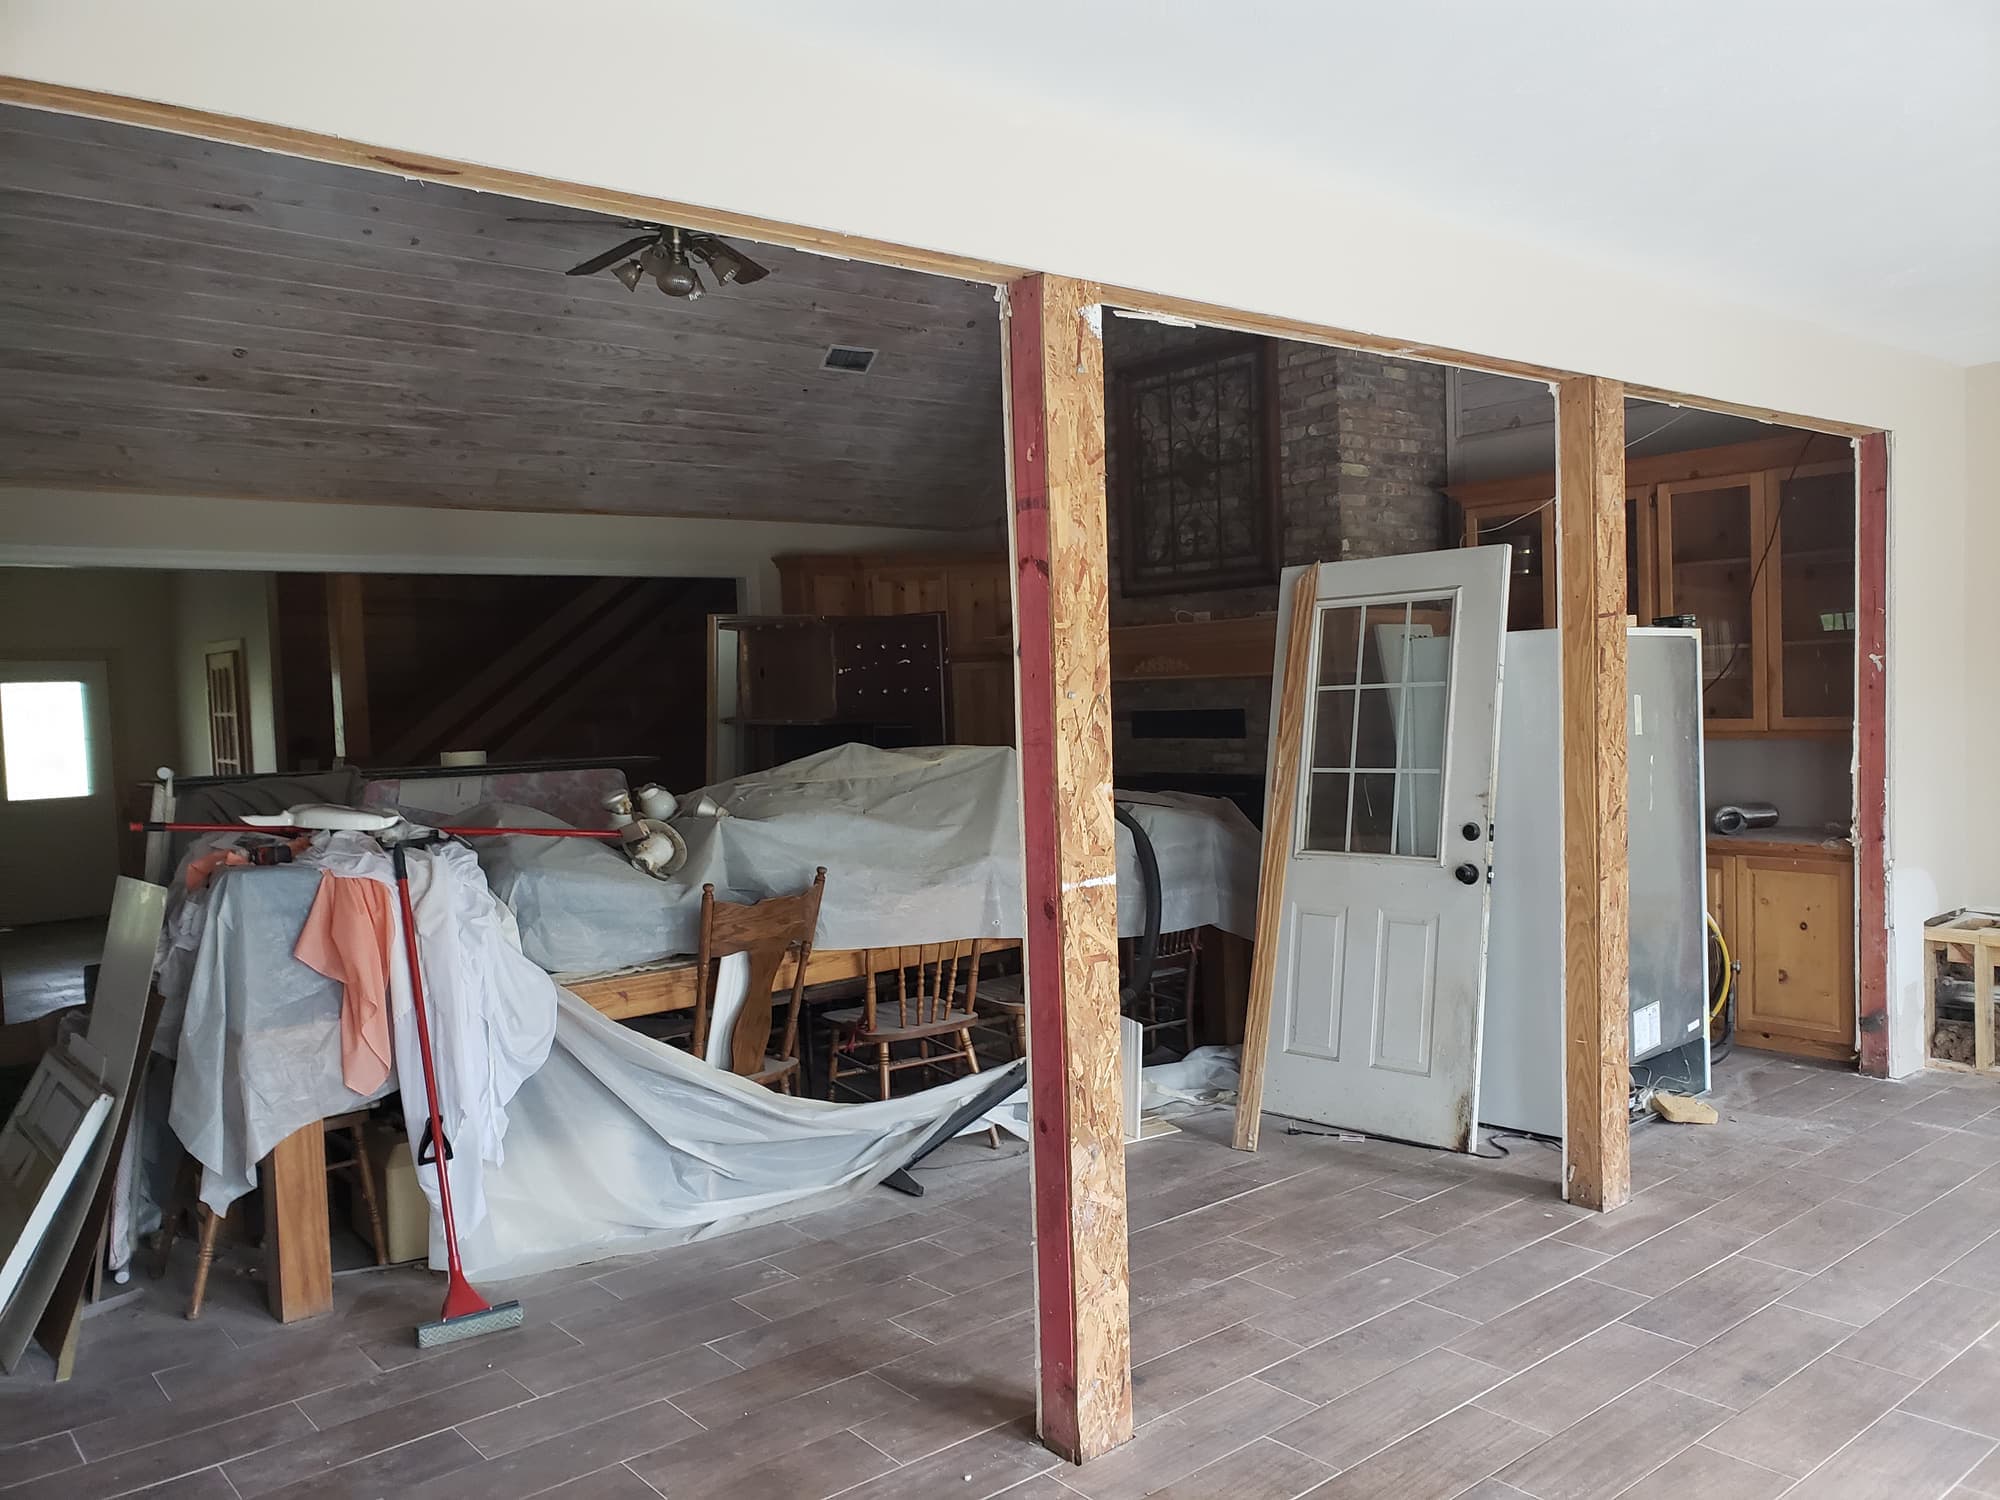
A bearing wall can almost always come out. It simply stops being a demolition question and becomes an engineering and carpentry one. Temporary shoring goes up first, a braced stud wall set back a few feet from the work, on both sides of the wall when there is a floor above. Then the beam gets sized, and that sizing depends on the clear span, the tributary width of roof and floor feeding into it, and what is stacked overhead. Options range from doubled or tripled dimensional lumber with a half-inch plywood spacer, to LVL built up from 1 3/4 inch laminations, to a steel flitch plate or a steel beam where depth is tight. Whatever the beam, the king and jack studs at each end have to carry that load through the wall below and into the foundation. This is the part of wall removal and open-concept conversions that decides whether the finished opening is quietly correct or quietly moving.
There is also a choice between a dropped beam and a flush one. A dropped beam hangs below the ceiling line: cheaper, faster, and it reads as a beam, which some rooms suit. In a flush beam, the joists hang off the side in metal hangers and the ceiling runs flat from room to room. Flush costs more in labor and hardware, and sometimes forces a stronger beam, because the cavity limits how deep it can be.
What is inside the wall often costs more than the beam
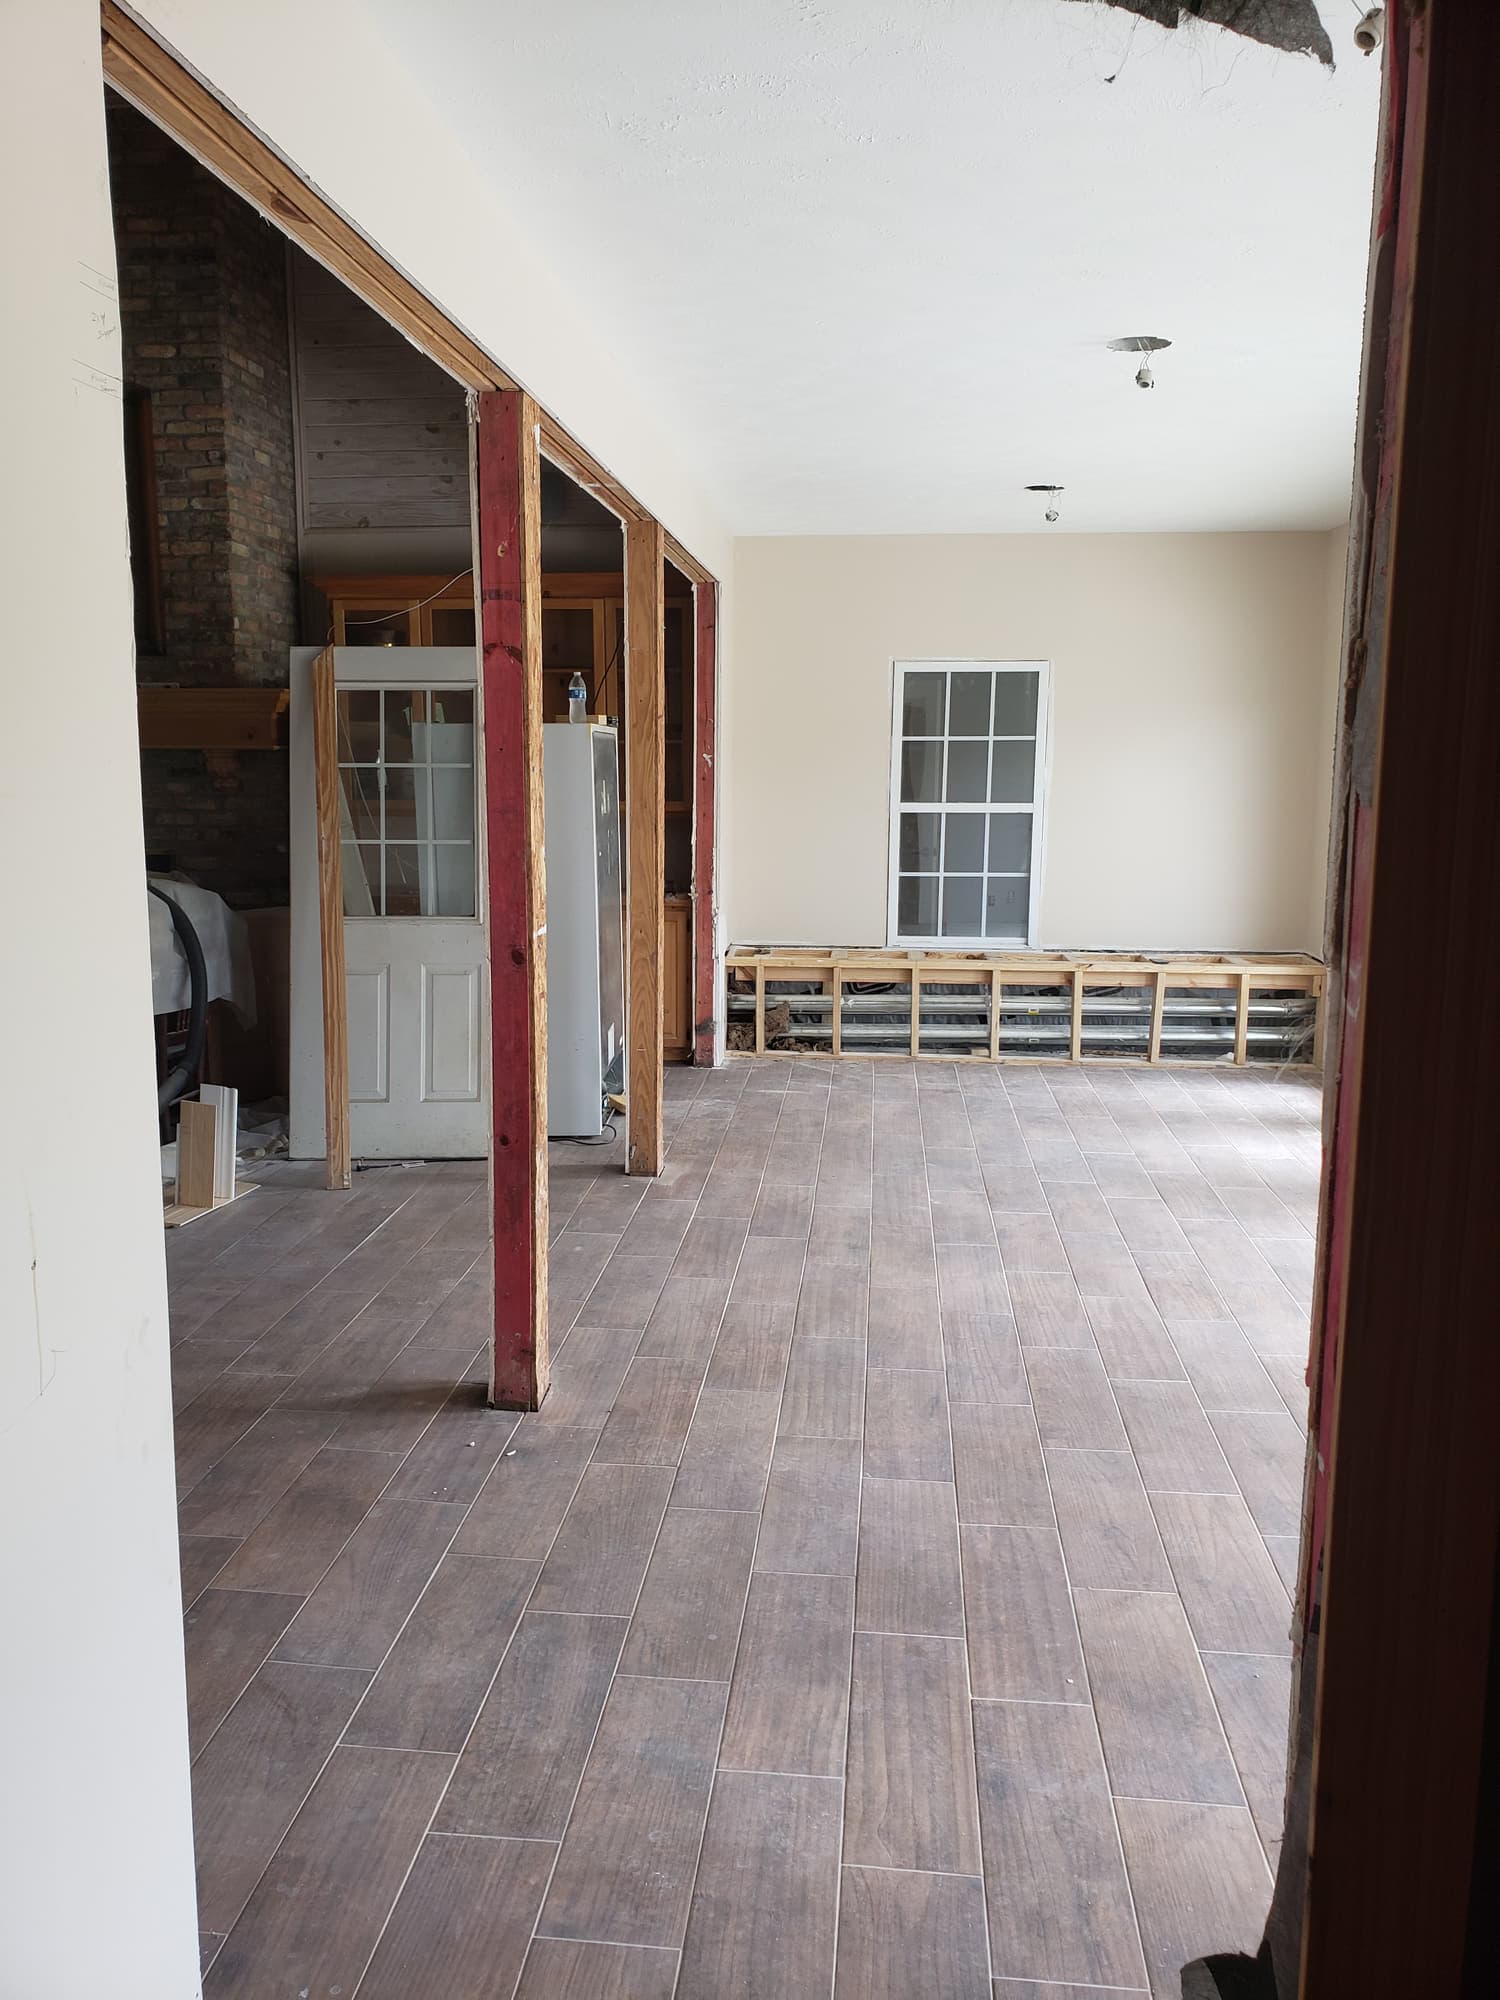
Structure tends to be the predictable line item. The mechanical guts and the finish work behind them are what move a budget, and they deserve as much attention during the diagnosis as the joists do.
- HVAC: air handlers live in attics here, and supply trunks or a central return chase frequently pass through interior top plates. Rerouting a trunk means rebalancing airflow, not just moving sheet metal.
- Plumbing vents: a wall carrying a 2 or 3 inch DWV pipe is either a wet wall with fixture drains in it or a chase carrying a vent up from somewhere else. Either way the pipe has to keep going. The vent has to keep rising above the fixtures it serves and exit the roof, so relocating it usually means new attic routing and a new roof penetration.
- Drains under the slab: if the wall serves a sink or a toilet, the drain is cast into the concrete. Moving it means cutting and repouring slab, and on a post-tension foundation that becomes its own project.
- Electrical: switch legs, home runs and circuits crossing the wall all get rerouted, and every junction box has to remain accessible. No boxes buried behind new drywall.
- Gas and low voltage: a range line, or a bundle of data and coax, adds trades and sequencing to a job that looked like carpentry.
- Ceiling finish: the strip of ceiling where the wall met it has to be patched, floated and textured. Matching orange peel or knockdown across an old ceiling is difficult, so re-texturing the whole ceiling is usually the cleaner call.
- Floor: there is no flooring under a wall, so you are left with a bare stripe of slab. Depending on the product, flooring installation or tile installation across both rooms is usually cleaner than hunting for a discontinued match, and the two rooms now read as one, so baseboard, casing and paint sheen have to agree.
Confirm it before demolition, and expect a permit
Everything above narrows the odds. None of it sizes a beam. Tributary width, how much roof and floor area actually funnels into that wall, is the number that decides between a doubled 2x10 and a steel section, and it depends on spans, spacing, roof pitch and what sits above. Before anything is demolished, a structural engineer should confirm the wall's role and size the replacement, working with the remodeling contractor who will build it. An engineer's stamped drawing is what a plans examiner expects to see for a bearing-wall removal, and it doubles as the instructions the framing crew builds from.
Structural changes are permitted work nearly everywhere in the region. Inside Houston city limits, the city runs its own permitting center. Unincorporated Harris County goes through the county. Incorporated suburbs and the surrounding counties, Fort Bend, Montgomery, Brazoria, Waller and Galveston, each run their own offices with their own submittal requirements, so the process depends on the address. Expect the jurisdiction to want a drawing showing the beam, its size, and how the load reaches the foundation, and to want an inspection while the framing is still open and visible. Houston has no conventional zoning, so land use runs on deed restrictions and HOA covenants instead; those rarely reach an interior wall, but they do reach exterior changes, and it is worth knowing which rules apply to your street before the scope grows.
The order that keeps this kind of project out of trouble is simple: look before you cut, cut a small hole before you cut a big one, and get the beam specified before the temporary posts go up. Structure is the one part of a remodel where sequence is not negotiable. Support goes in first, and the wall comes out second.